
Create a WordPress Website with Softaculous in cPanel. WordPress is a popular content management system (CMS) that allows users to easily create and manage their own website. Softaculous is a software that is available in the cPanel hosting control panel that allows for easy installation of WordPress. In this article, we will go through the steps required to create a WordPress website using Softaculous in cPanel.
Step 1: Access cPanel
The first step in creating a WordPress website with Softaculous is to access your cPanel account. For our customers, you can log in by adding /cpanel to the end of your domain: http://example.com/cpanel. cPanel is a web-based interface for managing your website. cPanel login information can be found in the product welcome email you were sent.
Step 2: Find Softaculous
Once you are logged in to cPanel, you need to find the Softaculous software. Look for a link or icon that says “Softaculous” under the “Software” section of cPanel. Click on the link or icon to open the Softaculous interface.
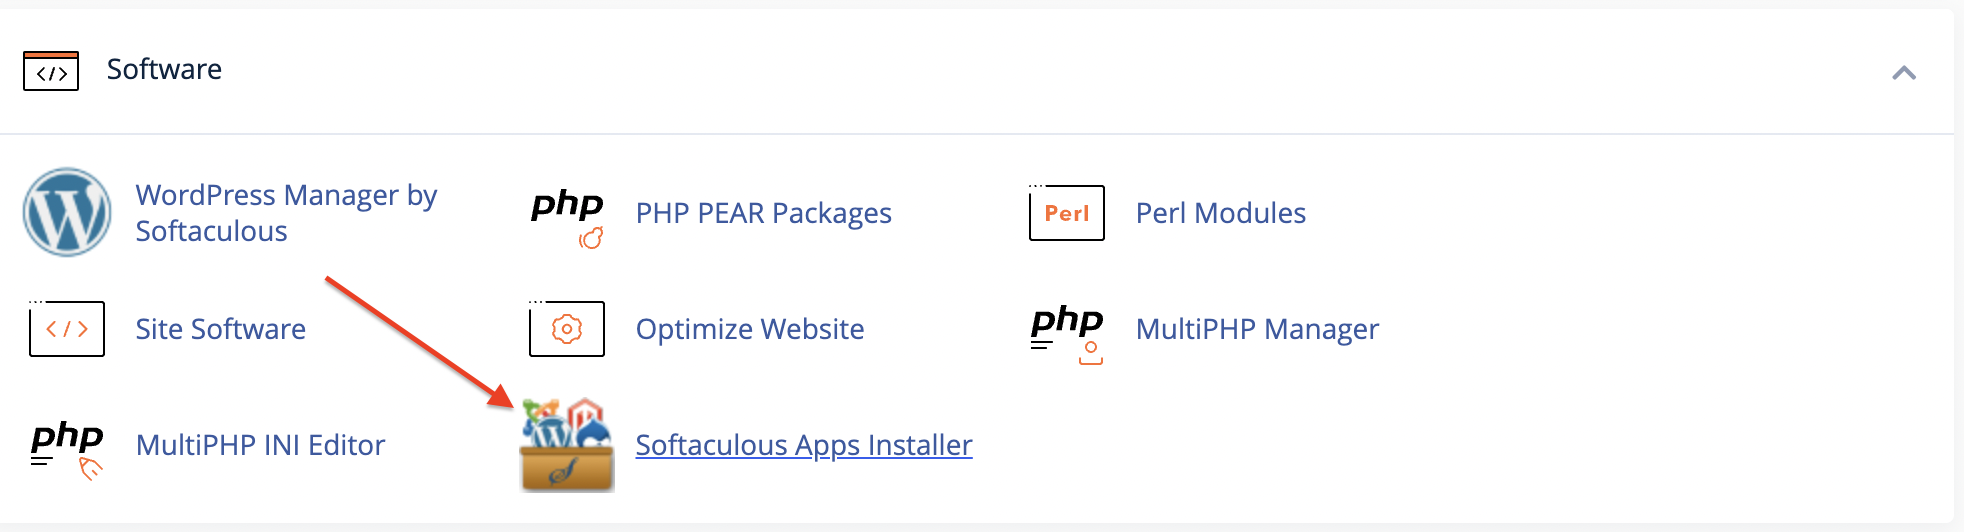 Softaculous Apps Installer icon in cPanel account.
Step 3: Install WordPress
After opening Softaculous, you will see a list of scripts that you can install. Find WordPress in the list and click on it.
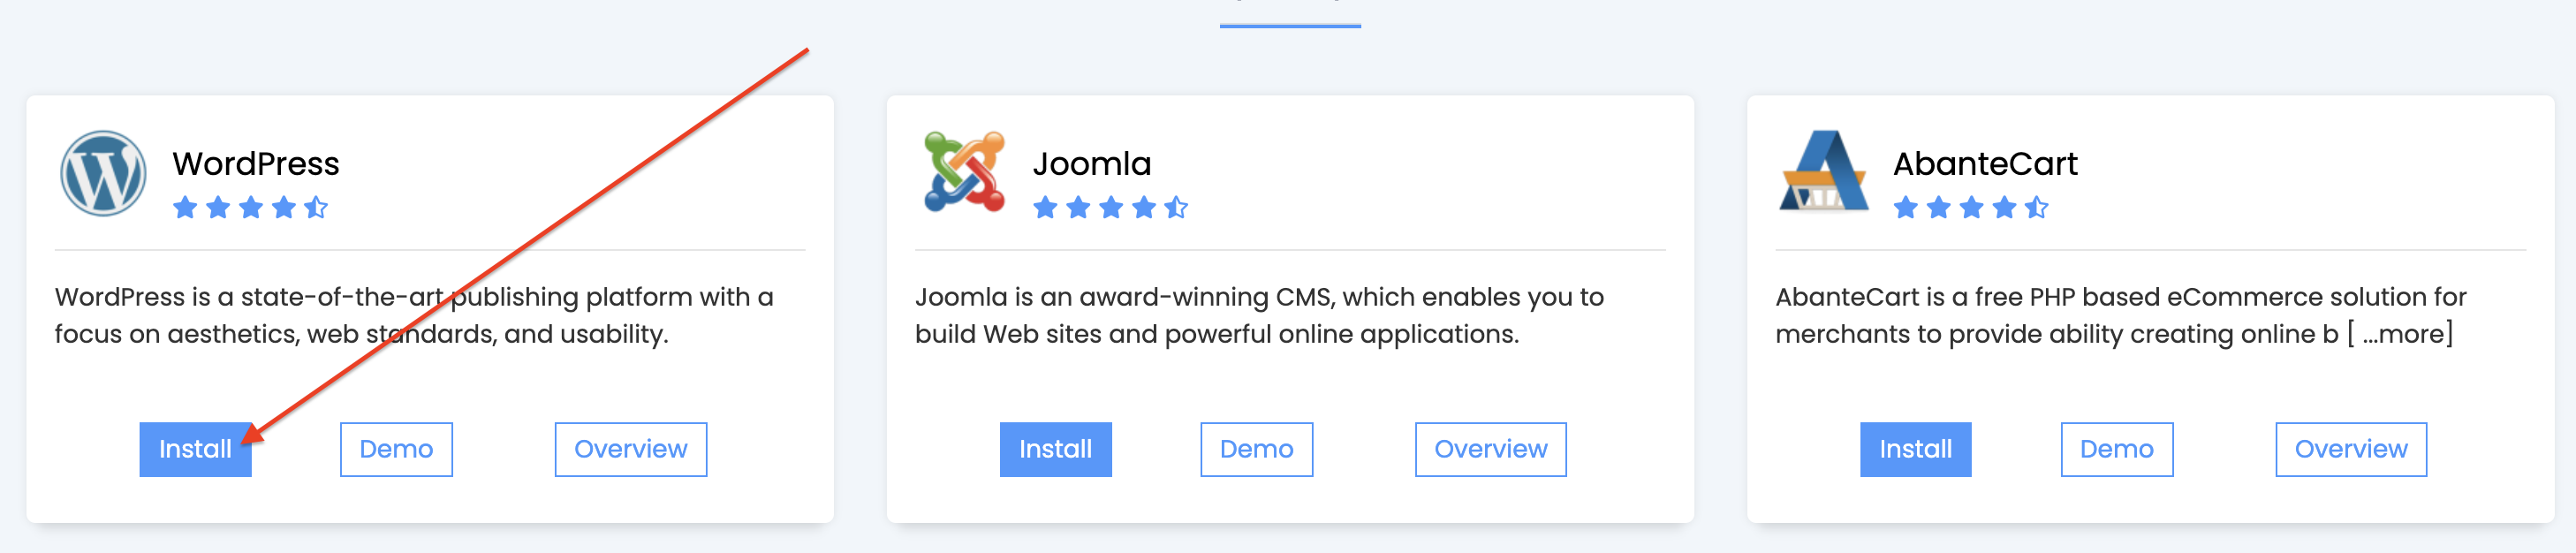
You will be taken to the WordPress installation screen where you can select the domain and directory where you want to install WordPress. If you want to install WordPress in the root directory of your website, leave the directory field blank. Otherwise, enter the name of the directory where you want to install WordPress.
Step 4: Configure WordPress
After selecting the domain and directory for your WordPress installation, you need to configure the basic settings for your website. This includes the site name, description, and administrator username and password. Make sure to choose a strong password and avoid using admin as the username to secure your WordPress installation.

Step 5: Install WordPress
Once you have configured the settings for your WordPress website, click on the “Install” button to start the installation process. Softaculous will automatically install WordPress on your website and create a database for your website.
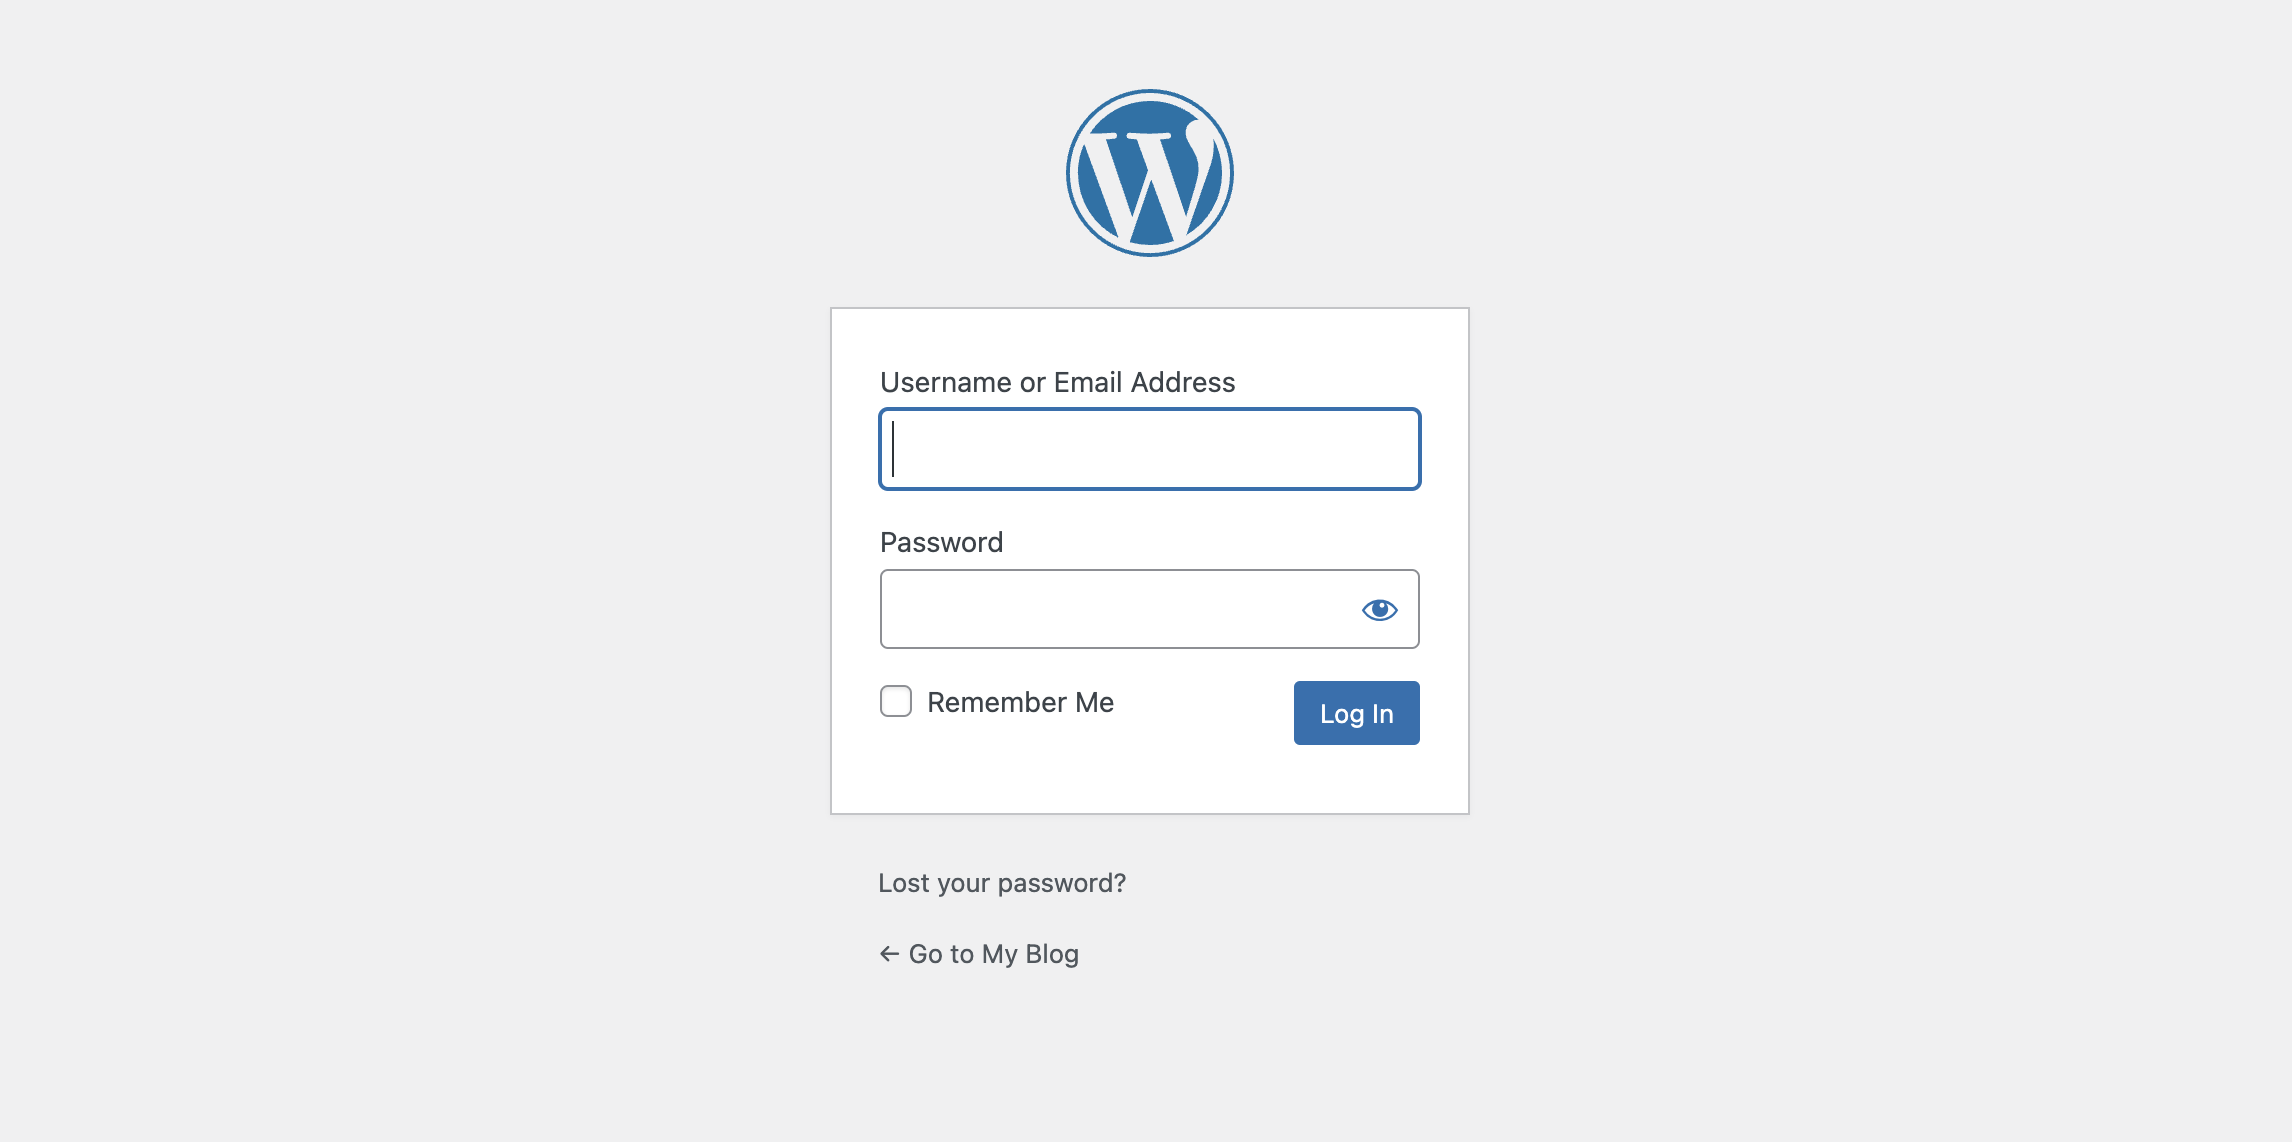
Step 6: Log in to WordPress
After the installation is complete, you can log in to your WordPress website by going to your website URL followed by “/wp-admin/”. For example, if your website URL is “http://www.example.com”, you can log in to your WordPress website by going to “http://www.example.com/wp-admin/”. Enter the administrator username and password that you created during the installation process.
Step 7: Customize Your Website
Once you have logged in to your WordPress website, you can start customizing your website by choosing a theme, adding plugins, and creating pages and posts. WordPress offers a wide range of themes and plugins that can be used to enhance the functionality and design of your website.
In conclusion, creating a WordPress website with Softaculous in cPanel is a simple and easy process that can be completed in just a few steps. By following these steps on how to create a WordPress Website with Softaculous in cPanel you can quickly create your own website and start sharing your content with the world.